Most ice maker problems, from no ice to strange-tasting cubes, can be traced back to a few common culprits: water line issues, temperature problems, or mechanical failures within the ice maker itself. Often, these are straightforward fixes you can tackle yourself without needing a service call. This guide will walk you through practical steps to diagnose and resolve these issues.
Table of Contents
- Check the Water Supply
- Is the Water Valve Open?
- Troubleshoot the Ice Maker Mechanism
- Producing Malformed or Small Ice Cubes
- Incomplete Water Fill
- Temperature Fluctuations
- Bad Tasting or Smelling Ice
- Water Quality Issues
- Contamination Within the Freezer
- Ice Maker Leaking
- Water Line Connections
- Ice Maker Components
- Ice Maker Jams or Is Loud
- Ejector Mechanism Problems
- Dispensing Problems
When your ice maker isn’t making any ice at all, it’s naturally frustrating. A few key areas are usually responsible.

Check the Water Supply
The most fundamental requirement for ice making is a steady supply of water.
Is the Water Valve Open?
This might seem obvious, but it’s often overlooked. The water supply line to your refrigerator, usually a thin copper or plastic tube, connects to a shut-off valve. This valve is typically located behind the fridge, under the sink, or in the basement. Ensure it’s fully open. If it’s only partially open, the water pressure might be too low for the ice maker to cycle properly. A quick check of its position can save you a lot of headache.
Is the Water Filter Clogged?
If your refrigerator has a water filter, a clogged one can severely restrict water flow to the ice maker. Filters are designed to be replaced periodically (typically every 6 months to a year, depending on usage and water quality). If you haven’t changed yours in a while, try replacing it. Even if it looks fine from the outside, the internal media can be saturated. Sometimes, even skipping the filter (temporarily, for diagnostic purposes) can confirm if this is the issue. If removing the filter resolves the ice problem, you’ve found your culprit.
Is the Water Supply Line Kinked or Frozen?
The thin tube carrying water to your ice maker can get kinked if the refrigerator is pushed too close to the wall, or if something is leaning against it. Pull the fridge out and inspect the line for any sharp bends. Additionally, if the freezer temperature is set too low, or if the water line runs too close to the freezer’s cooling elements, it can freeze internally. If you suspect a frozen line, try warming it gently with a hairdryer on a low setting (be careful not to melt the plastic) or by disconnecting it and allowing it to thaw at room temperature. Ensure the freezer isn’t set excessively cold afterward.
Troubleshoot the Ice Maker Mechanism
Beyond the water supply, the ice maker’s internal components need to be functioning correctly.
Is the Ice Maker Switched On?
Again, a simple one, but easily missed. Many ice makers have an on/off switch or a metal “feeler arm” that acts as a shut-off. If the feeler arm is in the upward position, the ice maker registers that the bin is full and won’t produce more ice. Push it down. For models with a switch, ensure it’s in the “on” position. Sometimes, it can be accidentally bumped.
Is the Freezer Temperature Correct?
Ice makers need a specific temperature to operate efficiently. If the freezer is too warm, the water in the ice maker tray won’t freeze sufficiently, and the ice maker won’t detect solid ice, thus not cycling. The ideal freezer temperature for ice production is typically between 0°F and 5°F (-18°C to -15°C). Use a separate thermometer to verify the actual temperature inside your freezer, as the refrigerator’s display might not always be perfectly accurate. If it’s too warm, adjust the thermostat and give it several hours to cool down.
Initializing the Ice Maker
Some ice makers, particularly after being installed or after a power outage, need a reset. Many models have a small “test” button, often red or black, located near the fill tube or motor housing. Pressing this button (usually for a few seconds) will initiate a test cycle, which involves filling the tray, attempting to eject ice, and then refilling. This can sometimes jumpstart a dormant ice maker.
If you’re experiencing issues with your ice maker, you might find it helpful to read a related article that provides step-by-step guidance on troubleshooting common problems. For more detailed instructions and tips, check out this helpful resource on fixing ice makers: Fix Ice Maker.
Producing Malformed or Small Ice Cubes
If your ice maker is making ice, but it’s not quite right, the issue often relates to water flow or temperature.
Incomplete Water Fill
Malformed or small cubes typically point to an issue with the ice maker not receiving enough water during its fill cycle.
Low Water Pressure
Even if the water valve is open, low household water pressure can lead to partial fills. This might be a whole-house issue, but sometimes it’s specific to the refrigerator’s line. Observe the water stream when you dispense water from the door (if applicable). Is it strong and consistent? If not, the pressure might be too low. Check if other taps in your house also have low pressure.
Obstructed Fill Tube
The fill tube directs water from the supply line into the ice maker’s tray. Over time, mineral deposits from hard water can build up inside this tube, narrowing the opening and restricting water flow. Frozen water can also block it. Inspect the tube for any visible obstructions. If you see ice, you can try to thaw it carefully with a hairdryer. If it’s mineral buildup, you might need to disconnect the tube and clean it with a small brush or a mixture of vinegar and water, though this is a more involved step.
Malfunctioning Water Inlet Valve
The water inlet valve is an electrically operated valve that opens to allow water into the ice maker. If this valve is faulty, it might not be opening fully or for long enough, leading to insufficient water entering the tray. You can generally hear a distinct “buzz” when the valve opens to fill the ice maker. If you don’t hear this, or if the sound is weak, the valve might be failing. This often requires professional replacement, as testing it involves working with electricity and water.
Temperature Fluctuations
Inconsistent freezing can also lead to poorly formed ice.
Freezer Door Seal Issues
If your freezer door isn’t sealing properly, warm air can repeatedly enter the freezer compartment. This causes temperature fluctuations, making it harder for the ice to freeze solid and properly form. Check the door gasket for cracks, tears, or gaps. You can perform a paper test: close a dollar bill in the door and try to pull it out. If it slides out easily, the seal is weak. Clean the gasket with warm, soapy water and check for any debris preventing a tight seal.
Overstuffed Freezer
A freezer packed too tightly can impede air circulation. Cold air needs to move freely to ensure consistent temperatures throughout the compartment, including around the ice maker. If the air can’t circulate, certain areas, including the ice maker’s tray, might not get cold enough to freeze water completely. Try reorganizing your freezer to allow for better airflow.
Bad Tasting or Smelling Ice

Nobody wants ice that makes their drinks taste off. This issue typically stems from water quality or contaminants.
Water Quality Issues
The quality of the water feeding your ice maker is paramount.
Old or Unchanged Water Filter
Just as a clogged filter can stop ice production, an old filter can allow contaminants and odors into your water, and subsequently, your ice. Filters don’t only block particles; they also absorb chemicals and odors. If your filter is past its recommended change date, it’s no longer doing its job effectively and can even start leaching absorbed substances back into the water. Replace it.
Stagnant Water in the Ice Maker Line
If your ice maker isn’t used frequently, water can sit in the supply line for an extended period. This stagnant water can pick up odors from the plastic tubing or minerals, leading to unpleasant-tasting ice. Discard the first few batches of ice after a period of non-use, or if you’ve been away for a while. Running several batches through can help flush the line with fresh water.
Contaminated Water Supply
While less common, occasionally the main household water supply itself can be the source of bad taste or smell. If all the water in your house tastes off (even from the tap), contact your local water utility or consider a whole-house water filtration system. If it’s only the ice, it points back to the refrigerator system.
Contamination Within the Freezer
Your freezer isn’t just for ice; other items stored there can affect the ice.
Uncovered Food in the Freezer
Food stored in the freezer without proper coverings or in leaky containers can release odors that the ice will readily absorb. Ice is surprisingly good at absorbing ambient smells. Ensure all food items are sealed in airtight containers or heavy-duty freezer bags. Pay particular attention to strong-smelling foods like fish, onions, or garlic.
Dirty Ice Bin
The ice bin itself can become a source of odor. Bits of food, freezer burn debris, or even just dust can accumulate in the bin. Empty the ice bin completely and wash it thoroughly with warm, soapy water. Rinse it well and allow it to air dry before returning it to the freezer. It’s a good practice to do this every few months.
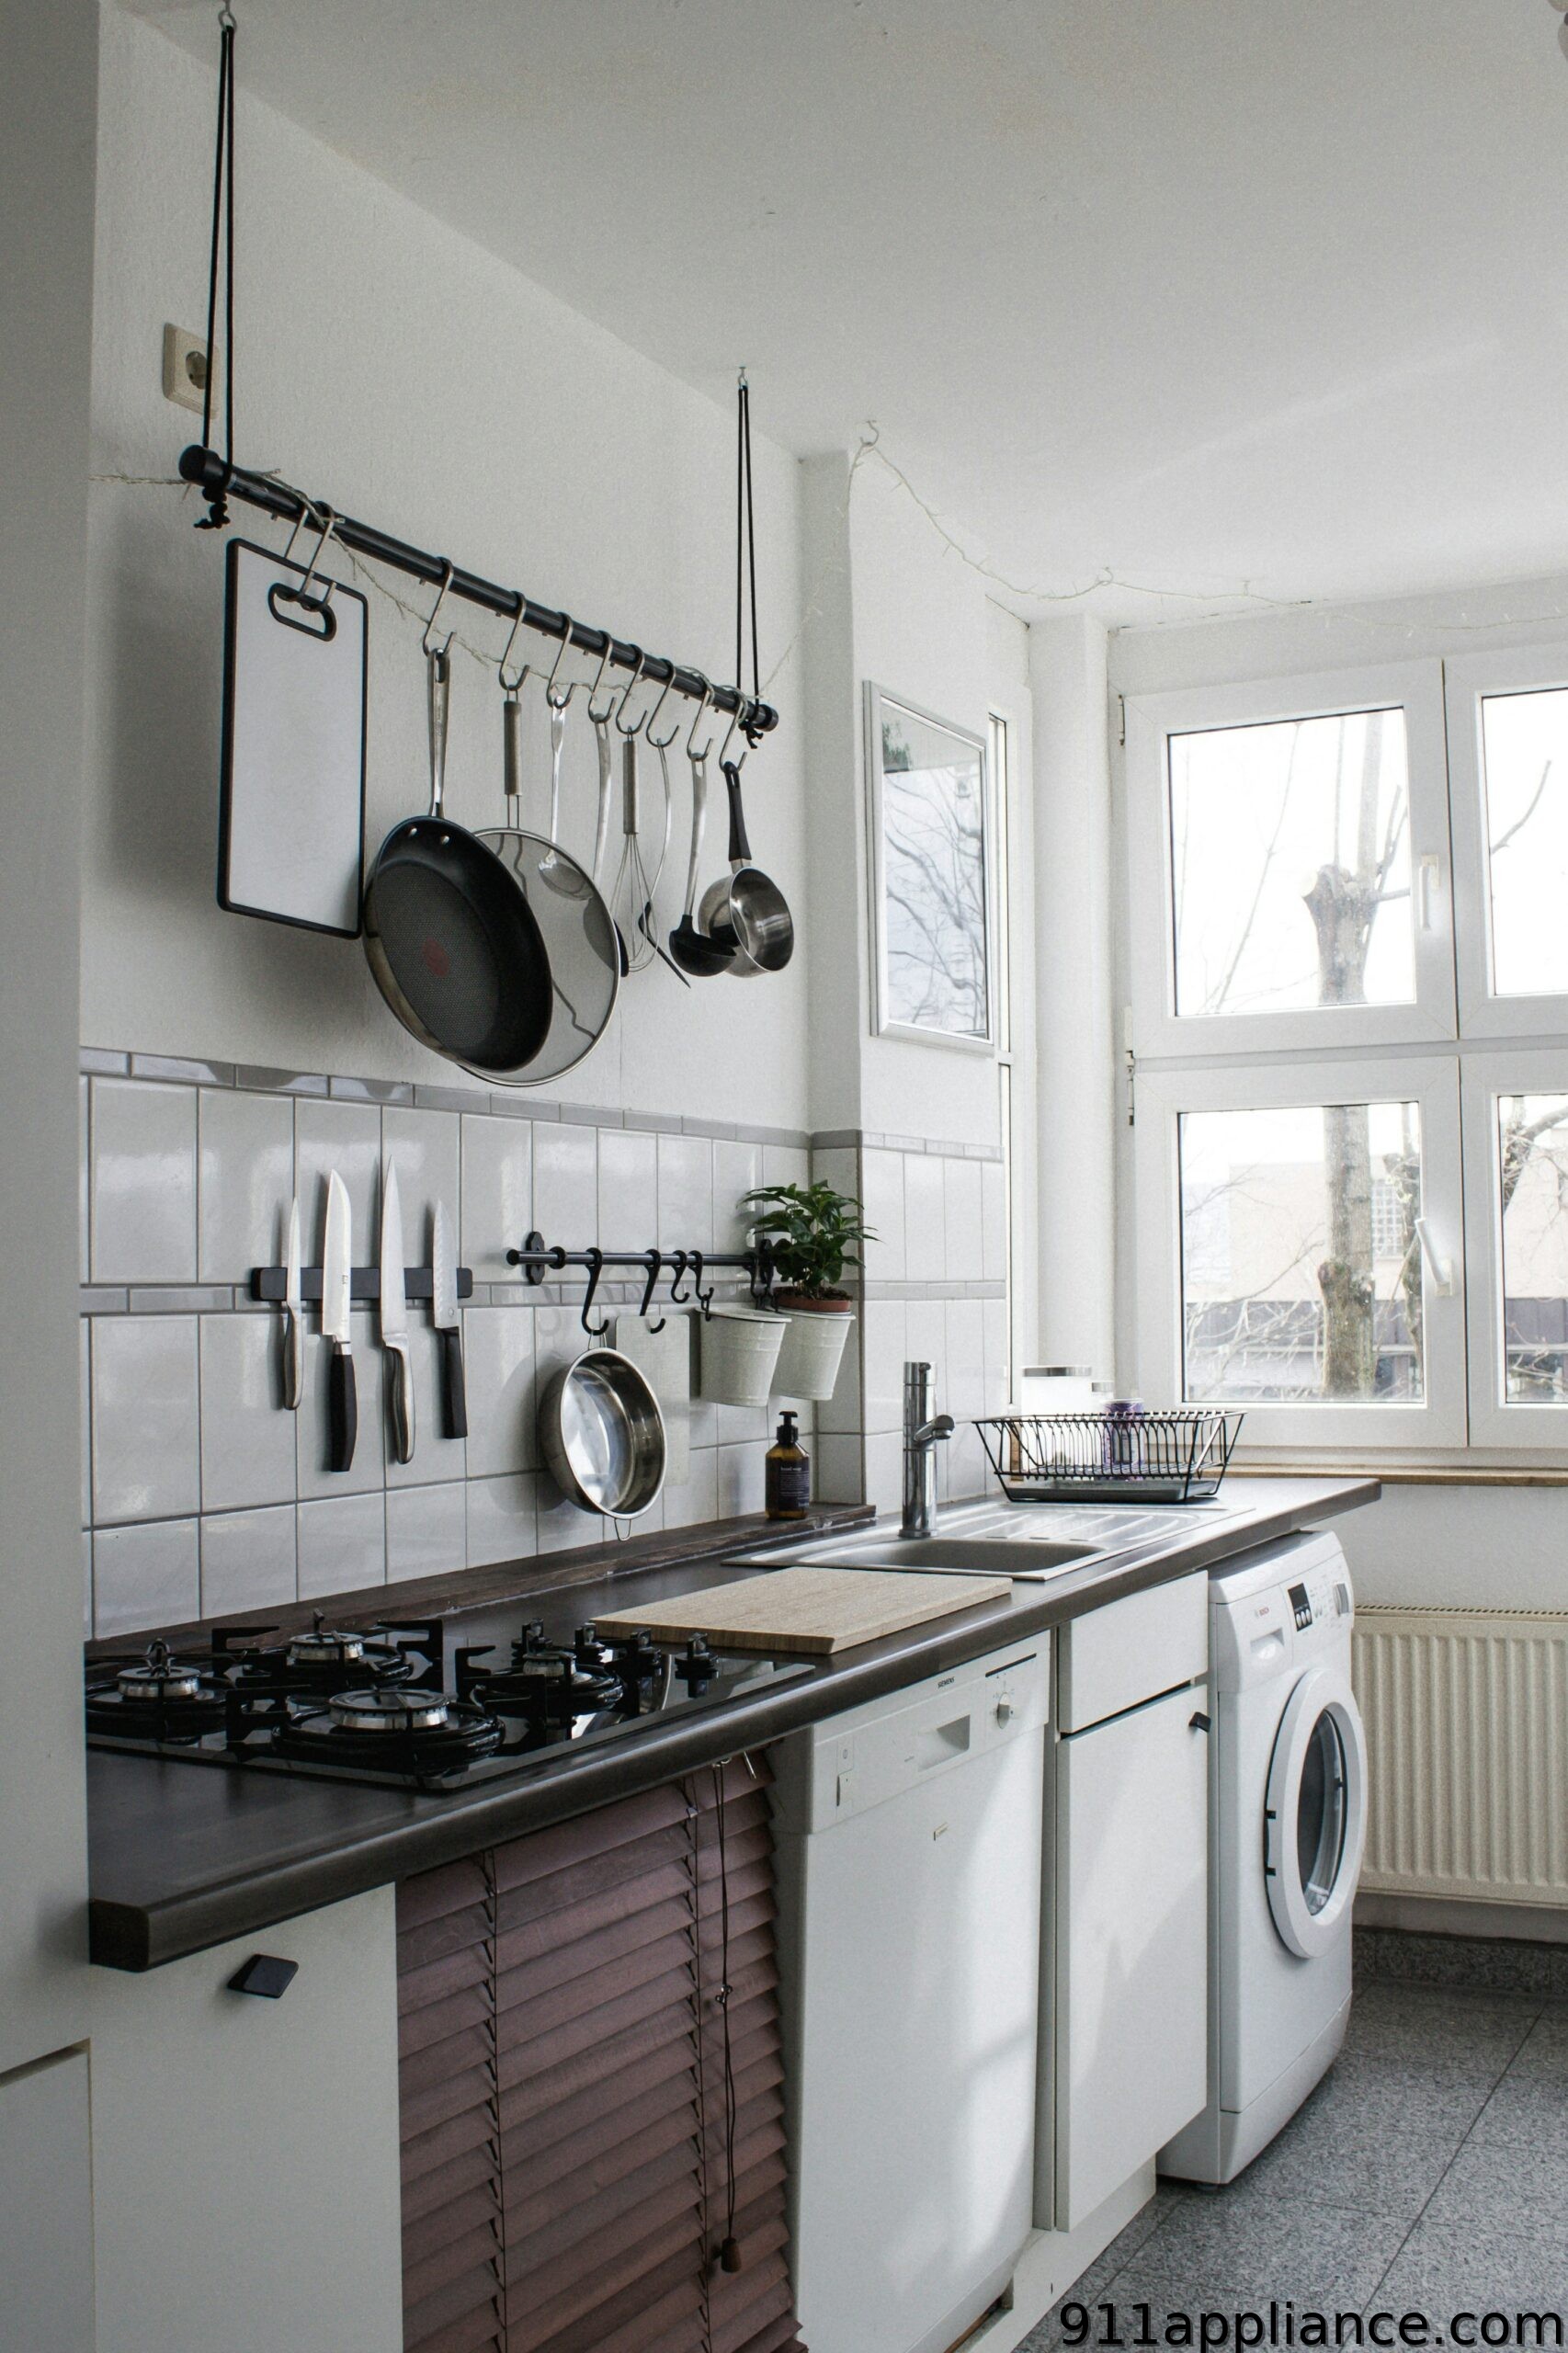
Ice Maker Leaking

A leaking ice maker is more than just inconvenient; it can cause damage to your floor or the refrigerator itself.
Water Line Connections
The connections for the water supply are often the source of leaks.
Loose or Damaged Water Line Connections
The plastic or copper tubing that delivers water to your ice maker connects to the water inlet valve on the back of the fridge and potentially to a saddle valve on your home’s main water line. These connections can loosen over time or if the fridge is moved. Inspect all visible connections for tightness. If you see water dripping, gently tighten the nuts, but don’t overtighten, especially on plastic lines, as this can cause cracking. If the line itself is cracked or damaged, it will need to be replaced.
Faulty Water Inlet Valve
As mentioned previously, the water inlet valve can fail. If a valve cracks or its internal seals deteriorate, it can continuously drip or spray water even when it’s supposed to be closed, leading to leaks. Sometimes, you’ll see water pooling directly beneath the valve or running down the back of the refrigerator. This usually requires professional replacement.
Ice Maker Components
Internal components of the ice maker can also lead to drips.
Cracked Ice Maker Fill Cup or Tray
The ice maker fills a specific cup or a tray with water. If this component develops a crack due to age or stress, water will simply drip out before it can freeze, leading to a puddle in the ice bin or on the freezer floor. You’ll need to visually inspect the ice maker’s fill mechanism for any visible damage. Depending on the model, this cup or tray might be replaceable.
Misaligned Ice Maker
If the ice maker unit itself isn’t seated correctly or has become dislodged, the water might spray past the fill cup or tray, causing it to miss its target and leak into the freezer. Check that the ice maker unit is firmly mounted and straight. Sometimes, simply adjusting its position can resolve the leak.
If you’re experiencing issues with your ice maker, you might find it helpful to read a related article that provides insights on troubleshooting common problems. For a comprehensive guide on fixing your ice maker, check out this informative piece on appliance repair. It offers practical tips and solutions that can help you get your ice maker back in working order. You can find it here: revive your home appliances with professional repair services.
Ice Maker Jams or Is Loud
| Issue | Frequency | Duration |
|---|---|---|
| Ice maker not working | 3 times in the last month | 2 days each time |
| Ice cubes not forming | 2 times in the last month | 3 days each time |
| Water leakage | 1 time in the last month | 1 day |
If your ice maker is making strange noises or the ice isn’t dispensing properly, these are often mechanical issues.
Ejector Mechanism Problems
The ejector arm is responsible for pushing the ice out of the mold.
Ice Cubes Stuck in the Mold
Sometimes, just a few stubborn ice cubes can get stuck in the ice mold, preventing the ejector arm from completing its cycle. This can cause a grinding noise as the motor tries to force the arm. Manually remove any visible stuck ice cubes. A temporary increase in freezer temperature (for an hour or so, then reset) can sometimes help loosen stubborn ice by causing a slight thaw around the edges.
Worn or Broken Ejector Arm
The plastic ejector arm can become worn, cracked, or even break over time, especially if it’s repeatedly trying to dislodge stuck ice. If the arm is visibly damaged, it will need to be replaced. This might be part of a larger ice maker assembly replacement, depending on the model.
Motor or Gear Issues
The ejector arm is driven by a small motor and gears. If these components wear out or become misaligned, the ice maker might make grinding, whirring, or clicking noises, and fail to eject ice. This is typically a sign of a failing ice maker assembly, which usually requires replacement of the entire unit.
Dispensing Problems
If the ice is made but just won’t come out, there are a few things to investigate.
Frozen Ice Chute
In models with an in-door dispenser, moisture can enter the ice chute and freeze solid, creating a blockage. Use a plastic utensil or a wooden spoon to carefully break up any visible ice in the chute. Be gentle to avoid damaging the dispenser components. Sometimes, warming the area slightly with a hairdryer can help (again, sparingly).
Malfunctioning Dispenser Motor or Auger
The dispenser motor drives an auger (a spiral screw) that pushes the ice from the bin into the chute. If this motor fails or the auger itself breaks, the ice won’t dispense. You might hear the dispenser motor hum but no ice comes out, or no sound at all. Checking this typically involves removing the ice bin and inspecting the auger assembly. This is often a part that needs professional diagnosis and replacement.
Full Ice Bin Sensor
Some ice makers have a sensor to detect if the ice bin is full, preventing further ice production. If this sensor is dirty or faulty, it might incorrectly register the bin as full, even when it isn’t, preventing the auger from operating. Clean the sensor if accessible, or consider if it might be a sensor malfunction.
Tackling ice maker problems doesn’t have to be a daunting task. By systematically checking these common troubleshoot areas, you can often pinpoint and resolve the issue yourself, saving time and money. Remember to always unplug your refrigerator before attempting any repairs involving electrical components.
