DIY home appliance repair can be a cost-effective and rewarding way to fix common problems with your appliances. Not only does it save you money on repair costs, but it also gives you a sense of accomplishment and empowerment. However, it is important to approach appliance repair with the right tools and safety gear to ensure a successful and safe repair.
Table of Contents
- Key Takeaways
- Screwdrivers and Their Uses in Appliance Repair
- Pliers and Their Uses in Appliance Repair
- Wrenches and Their Uses in Appliance Repair
- Multimeter and Its Importance in Appliance Repair
- Testing Equipment for Appliance Repair
- Safety Gear for DIY Home Appliance Repair
- Common Problems and How to Fix Them
- Tips for Successful DIY Home Appliance Repair
- What are the essential tools for DIY home appliance repair that beginners should have?
- FAQs
- What are the basic tools needed for DIY home appliance repair?
- What is a multimeter and why is it important for appliance repair?
- What is a nut driver set and when is it used?
- What is a socket set and when is it used?
- Why is it important to have wire cutters and pliers for appliance repair?
- What are some safety precautions to take when doing DIY appliance repair?
Having the right tools is crucial for DIY appliance repair. Without the proper tools, you may not be able to effectively diagnose and fix the problem. Additionally, using the wrong tools can cause further damage to your appliance or even result in injury. Therefore, investing in quality tools is essential for successful appliance repair.

Key Takeaways
- DIY home appliance repair can save you money and time.
- Essential tools for DIY home appliance repair include screwdrivers, pliers, wrenches, and a multimeter.
- Screwdrivers are used for removing and tightening screws in appliances.
- Pliers are used for gripping and bending wires and other small parts in appliances.
- Wrenches are used for tightening and loosening nuts and bolts in appliances.
Essential Tools for DIY Home Appliance Repair
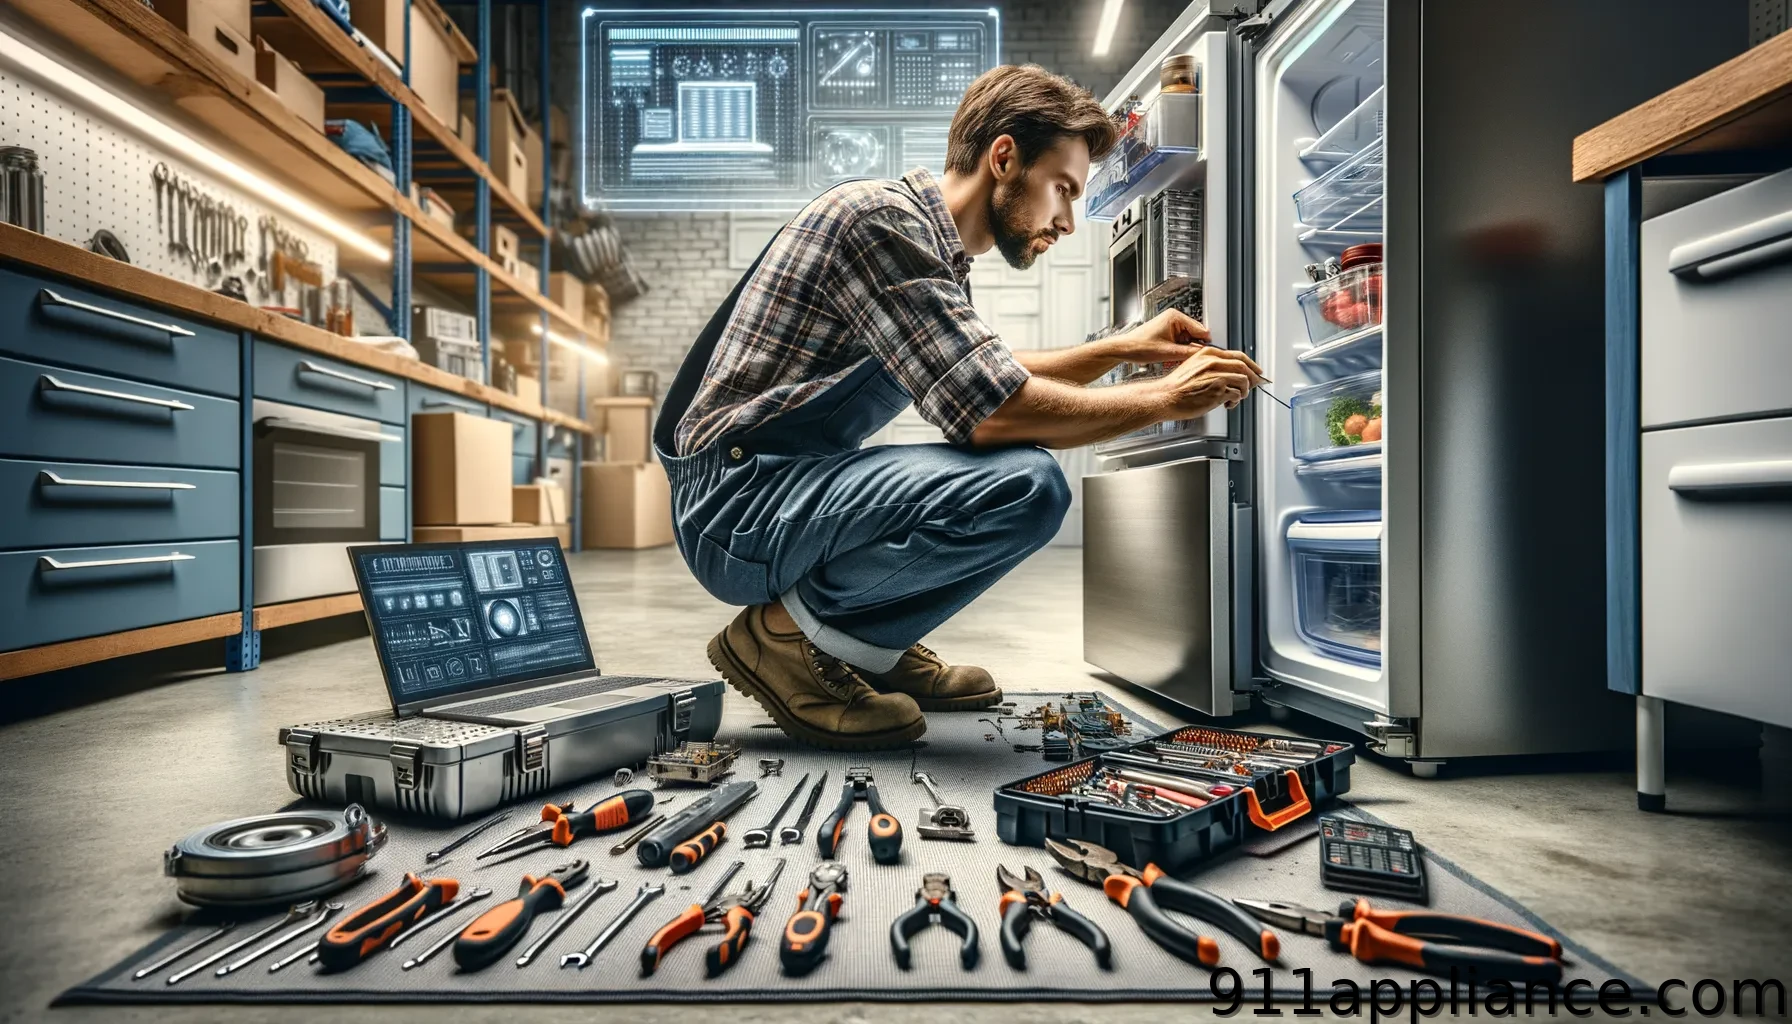
There are several basic tools that are necessary for DIY home appliance repair. These include screwdrivers, pliers, wrenches, a multimeter, and various testing equipment. It is important to have these tools readily available in your toolbox so that you can easily access them when needed.
When it comes to tools, quality matters. Investing in high-quality tools will ensure that they last longer and perform better. Cheap or low-quality tools may break easily or not provide the necessary precision for certain repairs. Therefore, it is worth spending a little extra money on quality tools that will serve you well in the long run.
Screwdrivers and Their Uses in Appliance Repair
Screwdrivers are one of the most commonly used tools in appliance repair. They are used to remove screws that hold appliances together and allow access to internal components. There are several types of screwdrivers that are commonly used in appliance repair, including flathead screwdrivers, Phillips screwdrivers, and Torx screwdrivers.
Flathead screwdrivers have a single flat blade and are used for screws with a straight slot. Phillips screwdrivers have a cross-shaped tip and are used for screws with a cross-shaped slot. Torx screwdrivers have a star-shaped tip and are used for screws with a star-shaped slot. It is important to use the correct type of screwdriver for each screw to avoid damaging the screw or the appliance.
To use a screwdriver, simply insert the tip into the screw slot and turn it counterclockwise to loosen the screw. Once the screw is loose, you can remove it using your fingers or a pair of pliers. When reassembling the appliance, make sure to tighten the screws securely but not too tight to avoid stripping the threads.
Pliers and Their Uses in Appliance Repair
Pliers are another essential tool for DIY home appliance repair. They are used for gripping, bending, and cutting wires, as well as holding small parts in place. There are several types of pliers that are commonly used in appliance repair, including needle-nose pliers, slip-joint pliers, and wire cutters.
Needle-nose pliers have long, narrow jaws that are ideal for reaching into tight spaces and gripping small objects. Slip-joint pliers have an adjustable pivot point that allows them to be used for different sizes of objects. Wire cutters have sharp blades that are used for cutting wires cleanly and easily.
To use pliers, simply grip the object or wire firmly between the jaws and apply pressure as needed. Be careful not to apply too much pressure, as this can damage the object or wire. When cutting wires, position the wire between the blades of the wire cutters and squeeze the handles together to make a clean cut.
Wrenches and Their Uses in Appliance Repair
Wrenches are another important tool for DIY home appliance repair. They are used for tightening or loosening nuts and bolts that hold appliances together. There are several types of wrenches that are commonly used in appliance repair, including adjustable wrenches, socket wrenches, and Allen wrenches.
Adjustable wrenches have an adjustable jaw that allows them to be used for different sizes of nuts and bolts. Socket wrenches have a socket that fits over the nut or bolt and allows for easy tightening or loosening. Allen wrenches, also known as hex keys, have a hexagonal shape and are used for screws or bolts with a hexagonal socket.
To use a wrench, simply position the jaws or socket over the nut or bolt and turn it clockwise to tighten or counterclockwise to loosen. Make sure to use the correct size of wrench for the nut or bolt to avoid damaging it. If necessary, you can use a combination of pliers and a wrench to hold one end of a bolt while turning the other end with the wrench.
Multimeter and Its Importance in Appliance Repair
A multimeter is an essential tool for DIY home appliance repair. It is used to measure electrical voltage, current, and resistance, which can help diagnose problems with appliances. A multimeter consists of a display screen, probes, and various settings for different types of measurements.
To use a multimeter, first turn it on and select the appropriate setting for the measurement you want to make. For example, if you want to measure voltage, select the voltage setting. Next, insert the probes into the appropriate ports on the multimeter. The red probe is typically used for positive measurements, while the black probe is used for negative measurements.
To measure voltage, touch the probes to the two points where you want to measure the voltage. The multimeter will display the voltage reading on its screen. To measure current or resistance, follow the same steps but make sure to select the appropriate setting on the multimeter.
Testing Equipment for Appliance Repair
In addition to a multimeter, there are other testing equipment that are useful for DIY home appliance repair. These include an insulation tester, a continuity tester, and a circuit tester. These tools can help diagnose electrical problems and ensure that appliances are functioning properly.
An insulation tester is used to test the insulation resistance of electrical components. It measures the resistance between two points to determine if there is any leakage of current. A continuity tester is used to test the continuity of electrical circuits. It checks if there is a complete path for current flow between two points. A circuit tester is used to test the presence of voltage in an electrical circuit. It can detect if there is a live wire or if a circuit is properly grounded.
To use these testing equipment, simply follow the instructions provided with each tool. Make sure to use them safely and accurately to avoid any electrical hazards or false readings.
Safety Gear for DIY Home Appliance Repair
Safety should always be a top priority when it comes to DIY home appliance repair. Working with electricity and moving parts can be dangerous, so it is important to wear the appropriate safety gear to protect yourself from injury. Some essential safety gear for appliance repair includes safety glasses, gloves, and non-slip shoes.
Safety glasses are important for protecting your eyes from flying debris or sparks. Gloves can protect your hands from sharp edges or hot surfaces. Non-slip shoes can prevent accidents caused by slipping or tripping.
It is also important to turn off the power to the appliance before attempting any repairs. This can be done by unplugging the appliance or turning off the circuit breaker that supplies power to it. Additionally, make sure to read and follow the manufacturer’s instructions for any specific safety precautions related to your appliance.
Common Problems and How to Fix Them
There are several common problems that can occur with home appliances, such as refrigerators, washing machines, dishwashers, and ovens. Here are some step-by-step instructions on how to fix these common problems:
1. Refrigerator not cooling: Check if the condenser coils are dirty and clean them if necessary. Make sure the temperature control is set correctly. Check if the evaporator fan motor is running and replace it if necessary. If the problem persists, it may be a faulty compressor or thermostat, which may require professional repair.
2. Washing machine not draining: Check if the drain hose is clogged and clear it if necessary. Make sure the drain pump is working properly and replace it if necessary. If the problem persists, it may be a faulty water pump or control board, which may require professional repair.
3. Dishwasher not cleaning dishes: Check if the spray arms are clogged and clean them if necessary. Make sure the water inlet valve is working properly and replace it if necessary. If the problem persists, it may be a faulty motor or control board, which may require professional repair.
4. Oven not heating: Check if the heating element is working properly and replace it if necessary. Make sure the temperature sensor is functioning correctly and replace it if necessary. If the problem persists, it may be a faulty control board or thermostat, which may require professional repair.
It is important to note that these are general guidelines and specific instructions may vary depending on the make and model of your appliance. Always refer to the manufacturer’s instructions or consult a professional if you are unsure about any repairs.
Tips for Successful DIY Home Appliance Repair
Here are some tips to help you successfully repair your home appliances:
1. Research and educate yourself: Before attempting any repairs, take the time to research and educate yourself about your specific appliance and the problem you are experiencing. Read the manufacturer’s instructions, watch tutorial videos, and consult online forums or communities for advice from experienced DIYers.
2. Start with simple repairs: If you are new to appliance repair, start with simple repairs that do not involve complex electrical or mechanical components. This will help you build confidence and gain experience before tackling more challenging repairs.
3. Take your time and be patient: Appliance repair can be time-consuming and require a lot of patience. Take your time to carefully diagnose the problem and follow the necessary steps for repair. Rushing or skipping steps can lead to further damage or incorrect repairs.
4. Keep your workspace organized: A clean and organized workspace will make it easier to find the tools and parts you need and prevent accidents or injuries. Use a toolbox or storage system to keep your tools organized and easily accessible.
5. Know when to call a professional: While DIY appliance repair can save you money, there are certain situations where it is best to call a professional. If you are unsure about a repair or if it involves complex electrical or mechanical components, it is best to leave it to the experts.
DIY home appliance repair can be a rewarding and cost-effective way to fix common problems with your appliances. By having the right tools and safety gear, you can confidently tackle repairs and save money on professional services. Remember to invest in quality tools, educate yourself about your specific appliance, and take your time to ensure a successful and safe repair. With the right approach, you can become a skilled DIYer and enjoy the satisfaction of fixing your own appliances.
What are the essential tools for DIY home appliance repair that beginners should have?
When getting started with appliance repair, it’s important for beginners to have a few essential appliance repair tools for beginners on hand. These may include a basic screwdriver set, a multimeter for testing electrical currents, pliers for manipulating wires, and a socket set for tightening or loosening components. Having these essential tools for appliance repair not only allows you to tackle common issues but also builds your confidence as you learn. Additionally, it’s wise to familiarize yourself with your appliances’ manuals, as they often provide invaluable troubleshooting tips and safety precautions. As you progress, you may want to expand your toolkit with more specialized equipment to handle a wider range of repairs. In addition to these basic tools, having a good pair of wire strippers and a flashlight can greatly enhance your repair experience. Familiarizing yourself with these essential repair tools for appliances will not only make the job easier but also ensure that you can tackle various issues confidently. Learning to use these tools effectively will set a solid foundation for your appliance repair journey.
FAQs
What are the basic tools needed for DIY home appliance repair?
Some of the basic tools needed for DIY home appliance repair include a screwdriver set, pliers, wire cutters, multimeter, nut driver set, and socket set. Additionally, it’s helpful to have a set of adjustable wrenches and safety goggles for protection during repairs. For those who may be inexperienced or unsure about certain procedures, online appliance repair resources can provide step-by-step guides and troubleshooting tips. Utilizing these resources can enhance your repair skills and save you time and money. Many of these diy appliance repair resources also offer video tutorials, which can be particularly useful for visual learners. By following along with these videos, you can gain a clearer understanding of the repair process and avoid common mistakes. Remember, the more knowledge you acquire from these resources, the more confident you will feel tackling your repair projects.
What is a multimeter and why is it important for appliance repair?
A multimeter is a tool used to measure electrical current, voltage, and resistance. It is important for appliance repair because it helps diagnose electrical problems in appliances.
What is a nut driver set and when is it used?
A nut driver set is a set of tools used to tighten or loosen nuts and bolts. It is commonly used in appliance repair to remove and replace screws and bolts.
What is a socket set and when is it used?
A socket set is a set of tools used to tighten or loosen nuts and bolts. It is commonly used in appliance repair to remove and replace screws and bolts.
Why is it important to have wire cutters and pliers for appliance repair?
Wire cutters and pliers are important for appliance repair because they are used to cut and strip wires, as well as bend and shape them to fit into tight spaces.
What are some safety precautions to take when doing DIY appliance repair?
Some safety precautions to take when doing DIY appliance repair include unplugging the appliance before working on it, wearing protective gear such as gloves and safety glasses, and following the manufacturer’s instructions and warnings.

