Troubleshooting Common Dryer Problems: Fixing the Top 5 Issues
Household dryers are essential appliances that many people depend on daily, yet they often receive little attention until they malfunction. Like all mechanical devices, dryers are subject to wear and tear that can lead to performance issues. Common dryer problems include insufficient heat output, excessive noise, and failure to dry clothes effectively. Recognizing these issues early and understanding their underlying causes can help you address problems promptly, reduce repair costs, and extend your appliance’s lifespan. Quick fixes to try first: clean the lint filter; verify the cycle and temperature settings; confirm the breaker(s) are on; make sure the door fully latches; check that the vent hose isn’t crushed; and for gas models, ensure the gas supply valve is open.
Table of Contents
- Key Takeaways
- Identifying the Issue: No Heat
- Diagnosing the Problem: Not Spinning
- Understanding the Cause: Excessive Noise
- Addressing the Problem: Not Drying Clothes
- Troubleshooting the Issue: Overheating
- Tips for Preventing Lint Build-Up
- Checking for Electrical Issues
- Maintaining Proper Ventilation
- Seeking Professional Help
- Keeping Your Dryer in Working Condition
- FAQs
- What are some common dryer problems?
- Why is my dryer not heating?
- What should I do if my dryer drum is not turning?
- How can I fix a dryer that makes loud or unusual noises?
- Why does my dryer take too long to dry clothes?
- What causes a dryer to shut off unexpectedly?
- How often should I clean the dryer lint filter and vent?
- When should I call a professional for dryer repairs?
This article examines the most frequent dryer malfunctions—no heat, drum not spinning, unusual sounds, long dry times, and overheating—and provides practical, model‑specific steps for electric, gas, and ventless/heat pump dryers.
It provides guidance on identifying symptoms, determining root causes, and applying practical repair solutions. Whether you have experience with appliance maintenance or are managing household repairs for the first time, this guide offers clear steps to diagnose dryer problems and perform basic troubleshooting to restore proper function. Safety first: always disconnect power before service, allow hot components to cool, and for gas dryers turn off the gas supply before working on burner components.
Key Takeaways
- Top issues: no heat, drum not spinning, excessive noise, long dry times, and overheating—each with quick checks and when to call a pro.
- Electric vs. gas vs. ventless/heat pump: steps differ. Electric dryers rely on a 240V supply; gas models use an igniter, flame sensor, and gas valve coils; ventless units need condenser/heat‑exchanger cleaning.
- Regular maintenance—clean lint filter every load and the vent path routinely—prevents many problems and reduces fire risk.
- Electrical checks matter: a dryer can tumble but not heat if one leg of the 240V supply is lost; verify breakers and receptacle.
- Clean moisture sensor bars to fix auto‑dry that ends too soon or runs too long.
- Professional assistance is recommended if you smell gas, detect scorching, find damaged wiring, or after basic steps fail.
Identifying the Issue: No Heat
One of the most frustrating problems you may encounter with your dryer is when it fails to produce heat. Start with the basics: confirm the cycle isn’t set to “air fluff/air only,” verify the temperature setting, and ensure the lint filter is clean. For electric dryers, remember they require two 120V legs (240V total). If one leg is lost due to a tripped double‑pole breaker or a receptacle/wiring fault, the motor may run but the heater won’t energize—reset the breaker and inspect the outlet as needed. Other common electric causes include a blown thermal fuse, failed heating element, or defective cycling thermostat/high‑limit thermostat.
For gas dryers, verify the gas supply is on and the valve is open. Through the burner peep hole, observe the igniter during a heat call. If the igniter glows but no flame appears, test the flame sensor and gas valve coils; if the igniter never glows, check the igniter itself and related thermostats/fuses. Always shut off gas and disconnect power before servicing burner components.
Diagnosing the Problem: Not Spinning
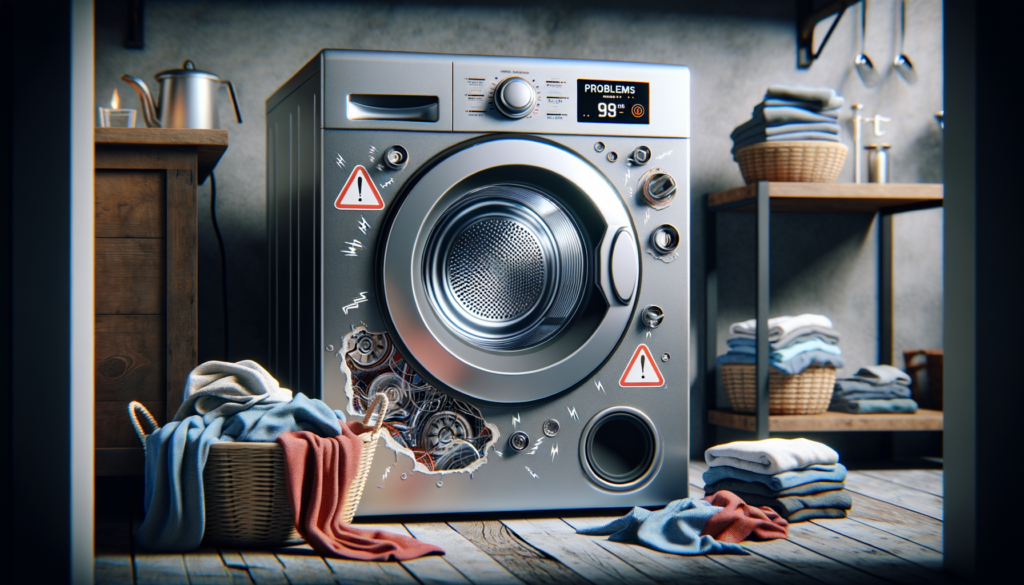
When the drum refuses to turn, first confirm the door is fully closed and the start switch is responsive. Unusual silence after pressing Start can indicate a failed door switch, blown thermal fuse, or a control issue. A humming sound without rotation often points to a seized drum, worn rollers, or a failing motor. Inspect the drive belt through the access panel for breaks or glazing and check the idler pulley. Tools/Time: basic hand tools; typically 45–90 minutes for belt/idler service. Call a pro if the motor shows open windings, smells burnt, or trips the breaker repeatedly.
Understanding the Cause: Excessive Noise
If your dryer sounds like a freight train when in operation, address the noise before it worsens. Rhythmic thumping usually means a flat‑spotted roller; a high‑pitched squeal often indicates a dry or failing idler pulley or rear drum bearing; grinding or scraping can point to worn drum glides or foreign objects caught in the drum or blower. Remove loose items (coins, buttons) and inspect rollers, glides, and the idler. Tighten loose fasteners and replace worn components to prevent collateral damage to the drum or motor. Tools/Time: screwdriver set and socket wrench; about 60–90 minutes depending on access.
Addressing the Problem: Not Drying Clothes
| Problem | Common Cause | Symptoms | How to Fix | Estimated Time to Fix | Tools Needed |
|---|---|---|---|---|---|
| Dryer Not Heating | Faulty heating element or blown thermal fuse; for gas: igniter, flame sensor, or gas valve coils | Clothes remain damp after cycle | Electric: reset double‑pole breaker, test and replace element/thermal fuse/thermostats; Gas: confirm gas supply, observe igniter, test sensor and coils, replace failed part | 30–60 minutes | Multimeter, screwdriver |
| Dryer Drum Not Turning | Broken belt, seized idler/rollers, or motor issues | Drum does not rotate during cycle | Replace belt, idler, or rollers as needed; test motor if belt/rollers are good | 45–90 minutes | Screwdriver, socket wrench |
| Dryer Takes Too Long to Dry | Clogged vent/lint filter; dirty moisture sensor; for ventless: clogged condenser/filters | Extended drying times, overheating, or auto‑dry ends too soon | Clean lint filter and entire vent path; wipe moisture sensor bars with rubbing alcohol; for ventless/heat pump, clean condenser/heat‑exchanger and filters per manual | 15–45 minutes | Vacuum, vent brush, soft cloth |
| Dryer Shuts Off Mid‑Cycle | Overheating, restricted airflow, or faulty thermostat | Dryer stops unexpectedly or feels extremely hot | Clean vents/ducts, confirm exterior hood opens freely, test thermostats/thermal fuse and replace if failed | 30–60 minutes | Multimeter, screwdriver |
| Dryer Makes Loud Noises | Worn drum rollers, idler pulley, glides, or loose parts | Unusual banging, squealing, or grinding sounds | Replace worn rollers/idler/glides; tighten fasteners; remove foreign objects | 60–90 minutes | Screwdriver, socket wrench |
When your dryer runs but fails to dry clothes effectively, start with airflow. Clean the lint filter, verify the vent hose isn’t crushed, and check that the exterior hood opens fully. If auto‑dry ends too early or runs forever, clean the moisture sensor bars inside the drum (wipe with a soft cloth dampened with rubbing alcohol). For ventless/heat pump dryers, clean the condenser/heat‑exchanger and internal filters per the manual; these models typically have longer cycle times than vented units. If performance doesn’t improve, test the heating element or thermostats.
Troubleshooting the Issue: Overheating
Overheating risks both your appliance and home. If the cabinet feels excessively hot or you smell a burning odor, stop the cycle, disconnect power, and let the dryer cool. Restore airflow by cleaning the lint filter, interior lint traps, ductwork, and the exterior termination. Use smooth metal ducting for the main run and a listed transition connector; avoid plastic hoses. Keep the transition run short, avoid crushed bends, and terminate outdoors with a dampered hood—no screen that can trap lint. Excessive elbows add “equivalent length,” so long/complex runs may require more frequent cleanings or a booster fan where allowed by the manufacturer. If overheating persists after cleaning, test/replace the cycling thermostat, high‑limit thermostat, and thermal fuse. For gas dryers, ensure the burner cycles normally and that the flame is stable.
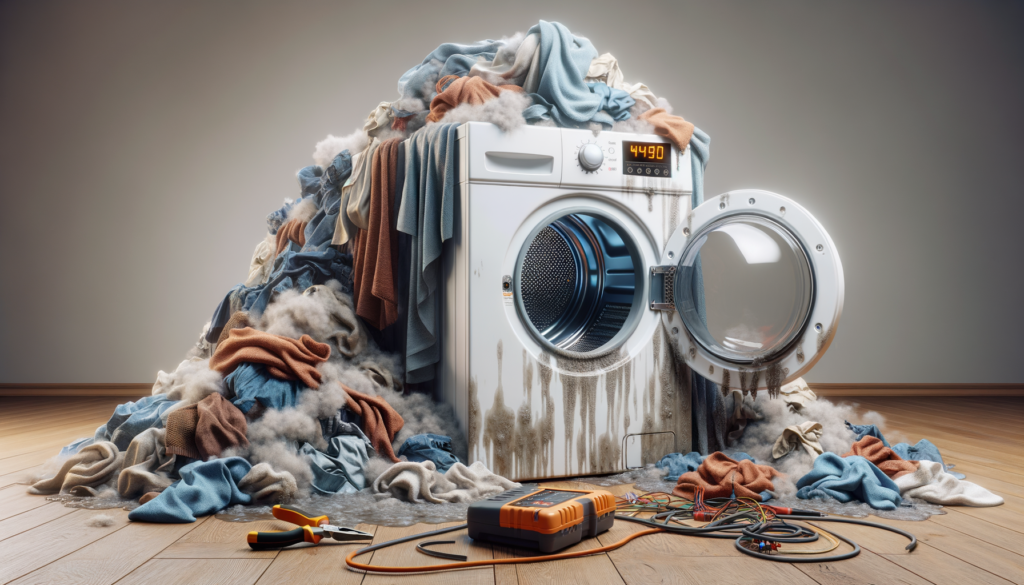
Failure to clean is a leading factor in dryer fires nationwide. Clean the vent at least annually, and sooner if dry times increase, the cabinet feels hot, or the laundry room is humid. Before replacing parts, check your model on the CPSC website for any active recalls or safety advisories.
Tips for Preventing Lint Build-Up
Preventing lint build‑up is essential for efficiency and safety. Clean the lint filter after every load, vacuum the filter housing periodically, and inspect the vent path from the dryer to the exterior hood. Use a vent brush to clear lint from elbows and inside wall runs. For ventless/heat pump dryers, regularly clean the condenser/heat‑exchanger and any foam or mesh filters as directed in your manual. Consistent maintenance improves performance and reduces fire risk.
Checking for Electrical Issues
Electrical problems can cause no‑heat, no‑spin, or random shut‑offs. Verify the dryer is fully plugged in and check your home’s electrical panel for a tripped double‑pole breaker (electric dryers need both 120V legs for heat). Some laundry areas use GFCI protection for 125–250V receptacles; a tripped GFCI can interrupt power—reset only once and investigate the cause if it trips again. If symptoms persist, test the door switch, start switch, timer/control, and thermal fuse with a multimeter. If you’re not comfortable working with live circuits, contact a professional.
Maintaining Proper Ventilation
Proper ventilation is crucial for performance and safety. Keep the vent short and straight with smooth metal ducting, use a listed transition connector between the dryer and the wall, and avoid kinks or crushed sections. Terminate outside with a damper that opens freely—do not use screens that catch lint. Account for the added resistance of elbows and long runs; if dry times creep up, schedule a full vent cleaning. These best practices reduce overheating and extend component life.
Seeking Professional Help
While many dryer issues can be resolved through DIY steps, call a pro if you smell gas, see scorch marks, find damaged wiring, or if the drum won’t turn even after belt/idler checks. Typical DIY times: belt/idler/roller service 45–90 minutes; heating element or gas coils 30–60 minutes; thermostat/thermal fuse 30–60 minutes. Professional appliance repair services have the expertise and tools to diagnose complex problems safely and efficiently.
Keeping Your Dryer in Working Condition
Understanding common dryer problems and their solutions empowers you to maintain your appliance effectively. From resolving no‑heat or noise issues to cleaning vents, moisture sensors, and (for ventless units) condensers, proactive care improves performance and reduces risks. Address problems promptly, and choose professional help when safety or complex repairs are involved for a smoother, safer laundry routine.
If you’re experiencing issues with your dryer, you might find it helpful to read about when to consider professional appliance repair services. This article provides insights into situations where DIY fixes may not be sufficient and highlights the benefits of seeking expert help. You can check it out here: When to Consider Professional Appliance Repair Services.
FAQs
What are some common dryer problems?
The most common issues are no heat, drum not turning, unusual noises, long dry times, and unexpected shut‑offs. Start with lint filter and vent cleaning, verify power and settings, then test parts like belts, thermostats, or sensors.
Why is my dryer not heating?
Electric models may lose one leg of the 240V supply (drum turns, no heat) or have a failed heating element or thermal fuse. Gas models may have an igniter that glows without flame due to a bad flame sensor or gas valve coils, or a closed gas valve.
What should I do if my dryer drum is not turning?
Confirm the door switch works and the belt is intact. Inspect the idler pulley and drum rollers for wear. A humming motor with a still drum suggests a seized roller or failing motor—service components or call a professional.
How can I fix a dryer that makes loud or unusual noises?
Identify the sound: squeal (idler or bearings), rumble/thump (rollers), scrape (glides or debris). Remove foreign objects and replace worn rollers, glides, or idler to restore quiet operation.
Why does my dryer take too long to dry clothes?
Restricted airflow is common—clean the lint filter and vent. Wipe moisture sensor bars to fix auto‑dry issues. For ventless/heat pump units, clean the condenser/heat‑exchanger and internal filters regularly.
What causes a dryer to shut off unexpectedly?
Overheating from blocked vents, a failed cycling thermostat/high‑limit thermostat, or a blown thermal fuse can stop the cycle. Clean the vent path and test/replace faulty components.
How often should I clean the dryer lint filter and vent?
Clean the lint filter after every load and the vent at least annually—or sooner if dry times increase, the cabinet runs hot, or the exterior hood doesn’t open freely.
When should I call a professional for dryer repairs?
Call a pro if you smell gas, see scorch marks, the breaker trips repeatedly, wiring looks damaged, or if no‑heat/no‑spin persists after the quick checks above.

