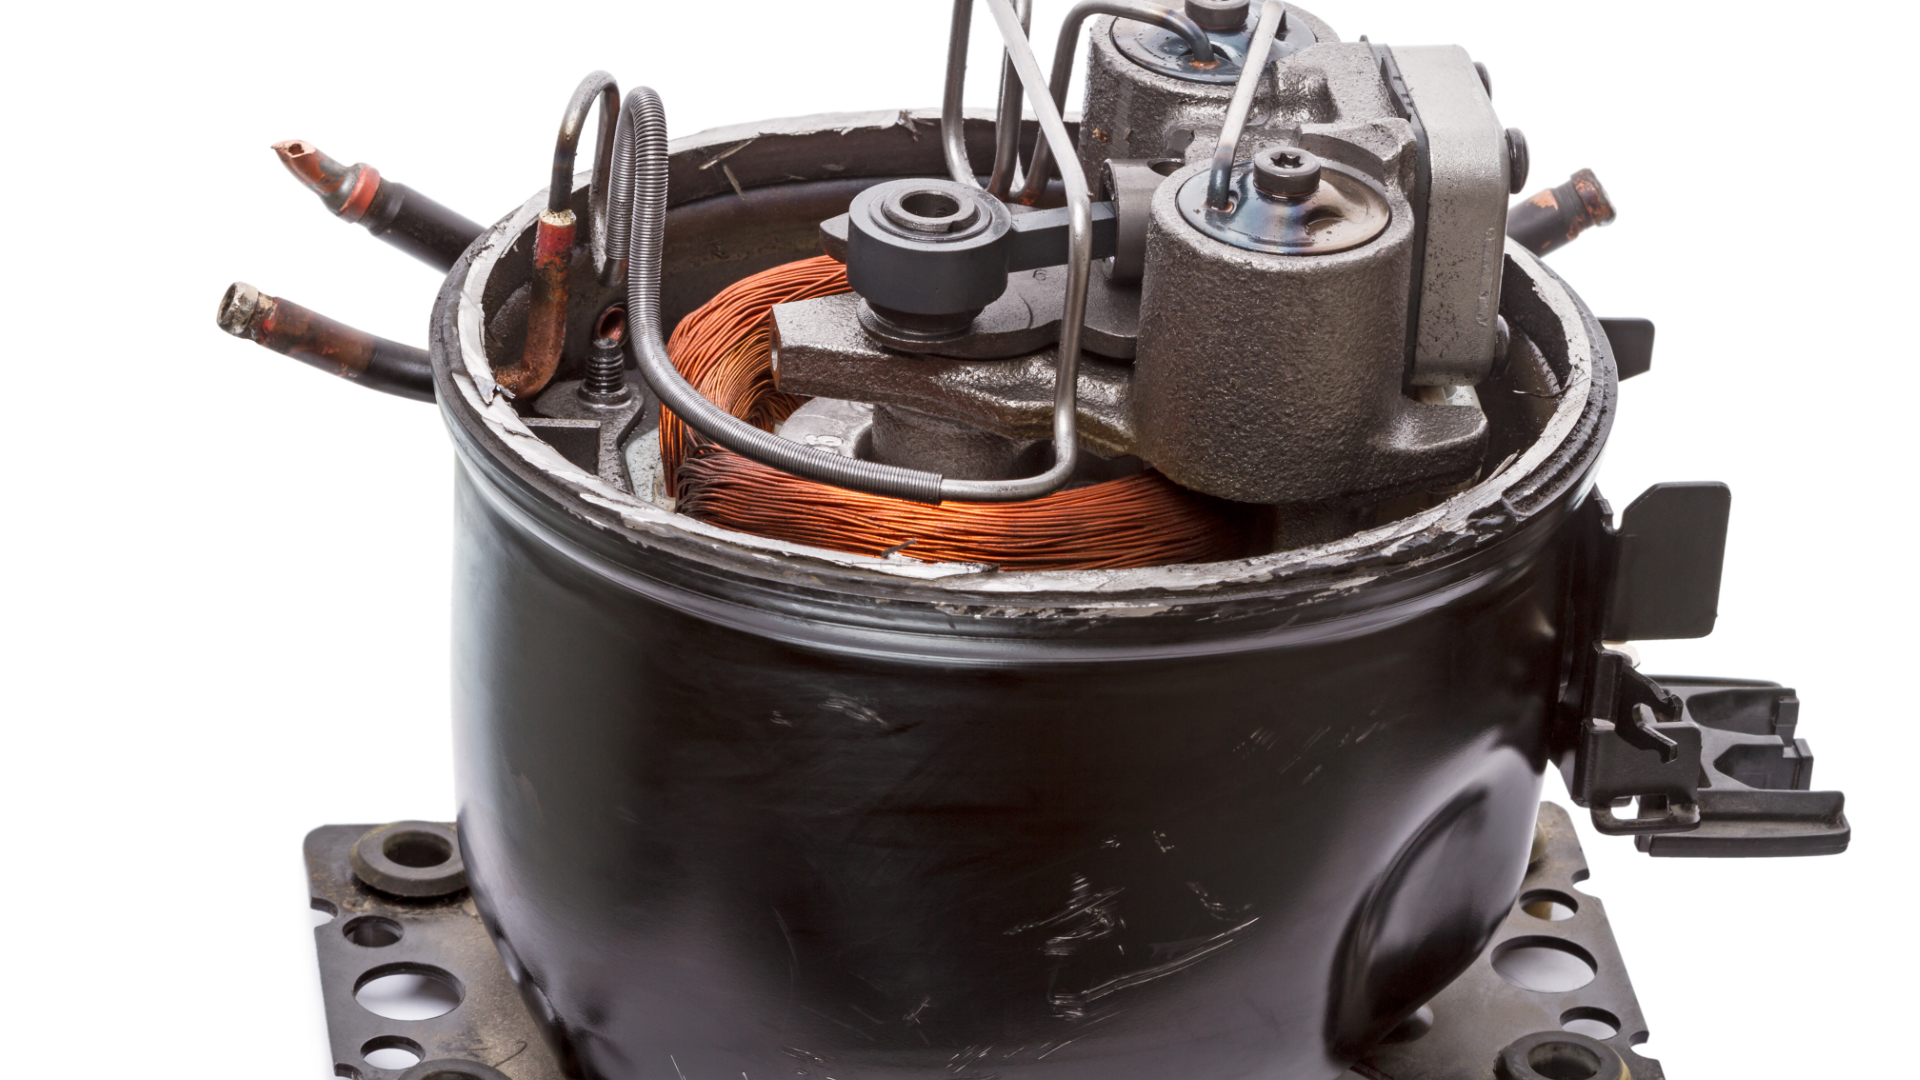
To repair a refrigerator compressor, first unplug the fridge and remove the compressor cover. Then, test the compressor with a multimeter. If the multimeter shows a lack of continuity, the compressor may need to be replaced. Additionally, check other components like the start relay and capacitor, as these could be contributing to the problem. Understanding how to fix a refrigerator not cooling often involves diagnosing these parts for any faults before proceeding with repairs.
Table of Contents
- Signs Of Refrigerator Compressor Failure
- Consistent Operation Without Cooling
- Unusual Noises From The Fridge
- Compressor Overheating
- Electrical Issues And Tripping Breakers
- Safety First: Preparing For Repairs
- Unplugging The Refrigerator
- Understanding Refrigerant Handling
- Gathering Necessary Tools
- Diagnosing The Issue
- Inspecting For Visual Damage
- Using A Multimeter To Test The Compressor
- Checking Amp Draw
- Quick Fixes Before Replacement
- Locating The Cover
- Tools Needed For Removal
- Safety Precautions
- Removing The Compressor Cover
- Identifying The Start Relay
- Step-by-step Replacement Process
- Testing The New Start Relay
- Replacing The Start Relay
- When To Decide On Replacement
- Removing The Old Compressor
- Securing And Connecting The New Compressor
- Installing A New Compressor
- Verifying Compressor Current Draw
- Listening For Proper Operation
- Preventive Measures For Longevity
- Frequently Asked Questions
- Can You Repair A Fridge Compressor?
- What Is The Most Common Cause Of Refrigerator Compressor Failure?
- How Do I Reset My Refrigerator Compressor?
- How To Tell If A Refrigerator Compressor Is Bad?
- Conclusion
A malfunctioning refrigerator compressor can disrupt the cooling efficiency of your appliance, leading to spoiled food and wasted energy. Repairing the compressor involves diagnosing the problem, which may include issues with the start relay, capacitor, or compressor motor itself. Always ensure the refrigerator is unplugged before beginning any repair work to avoid electrical hazards. Additionally, consulting refrigerator repair troubleshooting tips can be beneficial in pinpointing the exact issue more efficiently. These tips often provide step-by-step guidance on testing components and identifying common problems with the compressor. By following these guidelines, you can confidently approach the repair process and potentially save on costly service fees.
Using a digital multimeter, check for continuity and proper readings. If the compressor is beyond repair, replacing it may be necessary. For safety and effectiveness, consider consulting a professional technician, especially when dealing with refrigerants and electrical components.

Credit: authorizedco.com
Signs Of Refrigerator Compressor Failure
Identifying early signs of a failing refrigerator compressor can save you time and money. Timely intervention can prevent further damage. Here, we’ll discuss the most common signs of compressor issues.
Consistent Operation Without Cooling
A refrigerator compressor running continuously but failing to cool is a red flag. Lack of cooling could indicate a faulty compressor. This may be due to internal wear or refrigerant issues.
Unusual Noises From The Fridge
Hearing strange noises from your refrigerator can be alarming. These noises might be humming, buzzing, or clicking sounds. They often point to compressor problems. Regular operation should be almost silent.
Compressor Overheating
An overheating compressor is a clear sign of trouble. Touch the compressor; if it’s too hot, it may be struggling to function. Overheating can lead to complete failure if not addressed.
Electrical Issues And Tripping Breakers
Frequent tripping of breakers or electrical problems can stem from the compressor. A failing compressor may draw more power, causing electrical issues. This can be dangerous and needs immediate attention.

Credit: www.familyhandyman.com
Safety First: Preparing For Repairs
Repairing a refrigerator compressor involves several steps. Safety should always be your top priority. Understanding the necessary precautions ensures a smooth and risk-free repair process. Below, we discuss the essential safety measures to take before starting any repair work.
Unplugging The Refrigerator
The first and most important step is to unplug the refrigerator from the power outlet. This ensures no electrical current flows while you work. To avoid any accidental plug-in, you may even want to tape the plug to the refrigerator.
- Locate the power cord behind the refrigerator.
- Firmly pull the plug from the socket.
- Tape the plug to the back of the refrigerator.
Understanding Refrigerant Handling
Refrigerants are chemicals used in the cooling process. Mishandling them can be dangerous. Before starting, understand the type of refrigerant your refrigerator uses.
| Refrigerant Type | Common Usage | Safety Precautions |
|---|---|---|
| R-134a | Domestic refrigerators | Wear gloves and safety goggles |
| R-600a | Modern refrigerators | Avoid open flames |
Always work in a well-ventilated area. Use protective gear such as gloves and safety goggles.
Gathering Necessary Tools
Having the right tools is crucial for a successful repair. Here is a list of tools you will need:
- Screwdrivers (both flathead and Phillips)
- Wrenches
- Multimeter
- Refrigerant recovery machine
- Protective gloves
- Safety goggles
Ensure all tools are in good condition. Keep them within reach during the repair process.
By following these safety tips, you ensure a secure environment. This reduces the risk of injury while repairing your refrigerator compressor.
Diagnosing The Issue
Repairing a refrigerator compressor starts with an accurate diagnosis. Identifying the root cause of the problem ensures you apply the correct fix. Below, we break down the key steps in diagnosing a refrigerator compressor issue.
Inspecting For Visual Damage
Start by unplugging the refrigerator. Look closely at the compressor and its surroundings. Check for any visible signs of wear and tear. Look for the following:
- Cracks or leaks
- Burn marks
- Loose or frayed wires
If you see any of these signs, the compressor may need replacement.
Using A Multimeter To Test The Compressor
Use a multimeter to test the compressor’s electrical components. Follow these steps:
- Set the multimeter to the ohms setting.
- Locate the three terminals on the compressor.
- Test the resistance between each pair of terminals.
Record the readings. If the resistance is not within the manufacturer’s specified range, the compressor may be faulty.
Checking Amp Draw
Another critical step is to check the amp draw of the compressor. Use an amp meter for this task:
- Clamp the meter around one of the power wires.
- Check the reading while the compressor is running.
Compare the reading to the manufacturer’s specifications. A higher amp draw than specified can indicate a failing compressor.
Quick Fixes Before Replacement
Removing the compressor cover is an essential step in refrigerator repair. Accessing the compressor helps identify issues and perform repairs. Follow these steps to safely remove the compressor cover.
Locating The Cover
The compressor cover is usually at the back of the fridge. Look near the bottom area. It shields the compressor and other vital components.
Tools Needed For Removal
Gather the following tools before starting:
- Screwdriver: For removing screws.
- Wrench: To loosen any bolts.
- Flashlight: To see clearly in dark spaces.
- Gloves: To protect your hands.
Safety Precautions
Safety is crucial when working with electrical appliances. Here are some important tips:
- Unplug the refrigerator: Always disconnect from the power source.
- Wear gloves: Prevent injuries from sharp edges.
- Use a flashlight: Ensure you can see everything clearly.
- Have a buddy: It’s safer to work with someone else.
Following these steps ensures a safe and effective removal of the compressor cover. Stay safe and proceed with caution.
Removing The Compressor Cover
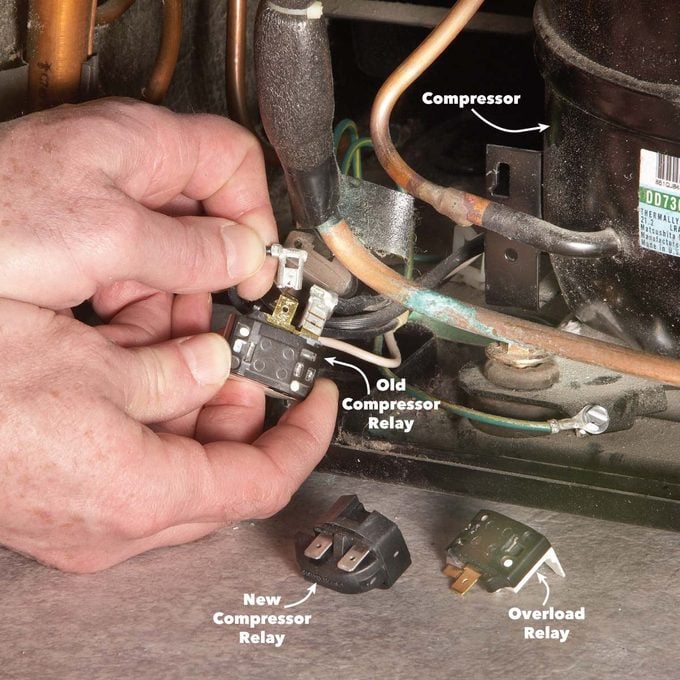
The start relay is a key component in your refrigerator’s compressor. If your fridge stops cooling, the start relay might be the issue. Replacing this small but vital part can restore your fridge’s function. Let’s dive into the process.
Identifying The Start Relay
Finding the start relay in your fridge is simple. It’s usually located near the compressor at the back of your fridge. The start relay is a small, box-like device attached to the compressor’s side.
To identify the start relay:
- Unplug your refrigerator.
- Move the fridge away from the wall.
- Locate the compressor at the back.
- Look for a small box attached to the compressor.
Step-by-step Replacement Process
Replacing the start relay is straightforward. Follow these steps carefully:
- Unplug the refrigerator to ensure safety.
- Remove the back panel to access the compressor.
- Locate the start relay on the side of the compressor.
- Carefully disconnect the relay from the compressor.
- Replace it with a new start relay of the same type.
- Reattach the back panel.
- Plug the refrigerator back in.
Testing The New Start Relay
After replacing the start relay, test it to ensure it’s working:
- Plug in the refrigerator.
- Listen for the compressor to start running.
- Check if the fridge starts cooling within an hour.
If the compressor runs smoothly and the fridge cools, the replacement was successful.
Remember, working with electrical components requires caution. Always prioritize safety.

Credit: www.facebook.com
Replacing The Start Relay
Installing a new compressor in your refrigerator can be a challenging task. However, with the right tools and instructions, you can do it yourself. This section will guide you through the process, step by step, ensuring your refrigerator runs smoothly again.
When To Decide On Replacement
Determining when to replace your refrigerator compressor is crucial. Look for signs like excessive noise, inadequate cooling, or frequent cycling. If your refrigerator is old, it might be more cost-effective to replace the compressor than repair it.
Removing The Old Compressor
Before removing the old compressor, ensure the refrigerator is unplugged. Follow these steps:
- Disconnect the power supply.
- Remove the back panel to access the compressor.
- Use a wrench to detach the refrigerant lines.
- Unbolt the compressor from its mounting.
- Carefully lift and remove the old compressor.
Securing And Connecting The New Compressor
Installing the new compressor involves several steps. Make sure to follow them precisely:
- Place the new compressor in the same position as the old one.
- Secure it with bolts and ensure it is stable.
- Connect the refrigerant lines using a wrench.
- Attach the electrical connectors to the compressor.
- Replace the back panel and plug in the refrigerator.
After installation, monitor the refrigerator’s performance. Ensure it is cooling properly and there are no unusual noises. If you encounter issues, consult a professional technician.
Installing A New Compressor
After repairing your refrigerator compressor, performing final checks is essential. Ensuring everything operates correctly can prevent future issues. Here are some key steps and tips for final checks and maintenance.
Verifying Compressor Current Draw
First, measure the current draw of the compressor. Use a clamp meter to check the amperage. Compare the reading to the compressor’s rated current. This information is usually on the compressor’s label.
If the current draw is within the specified range, the compressor is likely functioning properly. High or low readings can indicate potential problems. Address these issues immediately to avoid further damage.
Listening For Proper Operation
Listen to the compressor during operation. A healthy compressor should run smoothly without unusual noises. Pay attention to humming, clicking, or rattling sounds.
Unusual noises can signal internal problems. Troubleshoot these sounds to ensure the compressor’s longevity. Regular monitoring can help catch issues early.
Preventive Measures For Longevity
Taking preventive measures can extend your compressor’s life. Here’s a list of tips to follow:
- Keep the refrigerator clean and dust-free.
- Ensure proper ventilation around the unit.
- Avoid overloading the refrigerator.
- Regularly check and maintain the door seals.
- Schedule periodic professional inspections.
Maintaining your refrigerator can save you money on repairs. Implement these tips to keep your compressor in top shape.
Frequently Asked Questions
Can You Repair A Fridge Compressor?
Yes, but a qualified technician should handle fridge compressor repairs due to complexity and safety concerns.
What Is The Most Common Cause Of Refrigerator Compressor Failure?
The most common cause of refrigerator compressor failure is dirty condenser coils. This leads to overheating and compressor breakdown.
How Do I Reset My Refrigerator Compressor?
Unplug the refrigerator. Wait 10 minutes. Plug it back in. Adjust the thermostat to the desired setting.
How To Tell If A Refrigerator Compressor Is Bad?
Check for these signs: constant running, insufficient cooling, unusual noises, a hot compressor, or tripping circuit breakers.
Conclusion
Repairing a refrigerator compressor can extend your fridge’s life and save money. Follow the steps carefully and ensure safety. If unsure, consult a professional technician. Regular maintenance can prevent future compressor issues. Keep your refrigerator clean and well-ventilated. Enjoy a well-functioning fridge and avoid unnecessary expenses.


