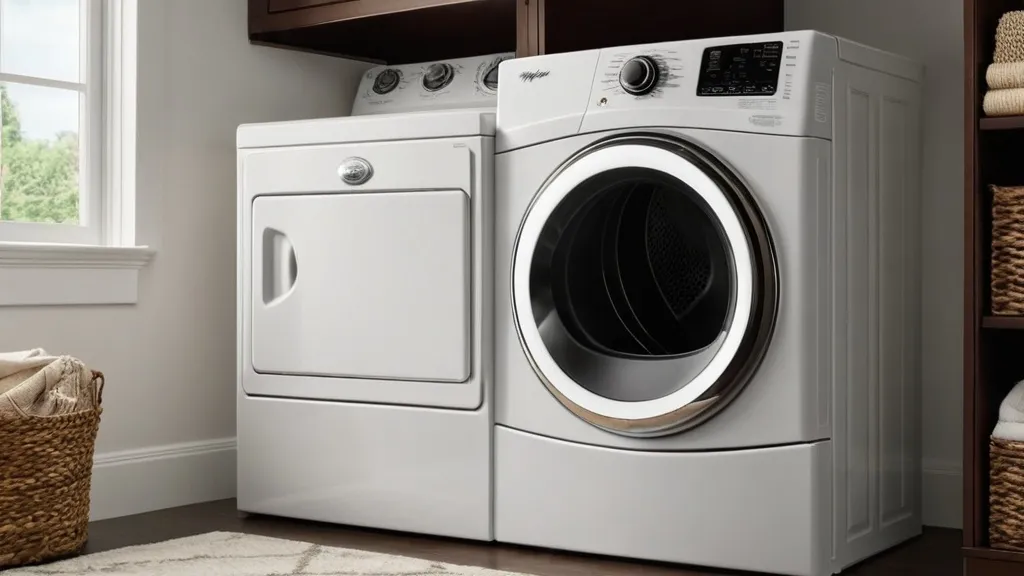
DIY appliance painting is a popular trend among homeowners who are looking to update their kitchen without breaking the bank. It offers a cost-effective and customizable solution for those who want to give their appliances a fresh new look. Whether you want to change the color of your appliances or simply refresh their appearance, DIY appliance painting is a great option. In this article, we will explore the benefits of DIY appliance painting, provide tips and tricks for choosing the right paint, offer a step-by-step guide for painting your appliances, and discuss maintenance and care for your newly painted appliances.
Table of Contents
- Key Takeaways
- Benefits of DIY Appliance Painting: Cost-Effective and Customizable
- Choosing the Right Paint for Your Kitchen Appliances: Tips and Tricks
- Preparing Your Appliances for Painting: Cleaning and Sanding
- Step-by-Step Guide to DIY Appliance Painting: From Priming to Finishing
- Adding a Pop of Color to Your Kitchen: Choosing the Perfect Hue for Your Appliances
- DIY Appliance Painting Ideas: Creative Designs and Patterns to Try
- Maintenance and Care for Your Newly Painted Appliances: Keeping Them Looking Fresh
- DIY Appliance Painting vs. Professional Painting Services: Pros and Cons
- Transform Your Kitchen with DIY Appliance Painting
- Can the Techniques for Tackling Cosmetic Damage on a Ride be Applied to DIY Appliance Painting?
- FAQs
- What is DIY Appliance Painting?
- What are the benefits of DIY Appliance Painting?
- What types of appliances can be painted?
- What materials are needed for DIY Appliance Painting?
- What is the process for DIY Appliance Painting?
- Is DIY Appliance Painting safe?
Key Takeaways
- DIY appliance painting is a cost-effective and customizable solution for your home.
- Choosing the right paint for your kitchen appliances requires some tips and tricks.
- Preparing your appliances for painting involves cleaning and sanding.
- A step-by-step guide to DIY appliance painting includes priming and finishing.
- Adding a pop of color to your kitchen involves choosing the perfect hue for your appliances.
Benefits of DIY Appliance Painting: Cost-Effective and Customizable
One of the main benefits of DIY appliance painting is that it is a cost-effective alternative to buying new appliances. Purchasing new appliances can be expensive, especially if you are looking to upgrade multiple items in your kitchen. By painting your existing appliances, you can achieve a fresh new look without the hefty price tag. Additionally, DIY appliance painting allows you to customize your appliances to match your kitchen decor. You can choose any color you like and create a cohesive look in your kitchen. This level of customization is not possible with store-bought appliances.
DIY appliance painting can save homeowners money in various ways. Firstly, it eliminates the need to purchase new appliances, which can be a significant expense. Secondly, it allows homeowners to extend the lifespan of their existing appliances by giving them a facelift. Instead of replacing an appliance that is still functioning well but looks outdated, you can simply paint it and make it look brand new. Lastly, DIY appliance painting gives homeowners the opportunity to experiment with different colors and finishes without committing to a permanent change. If you decide that you don’t like the color or finish you chose, you can easily repaint it without spending a fortune.
Choosing the Right Paint for Your Kitchen Appliances: Tips and Tricks
When it comes to choosing the right paint for your kitchen appliances, there are a few factors to consider. Firstly, you need to make sure that the paint you choose is specifically designed for use on appliances. Regular paint may not adhere properly to the surface of your appliances and may not withstand the heat and moisture in a kitchen environment. Look for paint that is labeled as “appliance paint” or “enamel paint” to ensure the best results.
Another important factor to consider is the finish of the paint. You can choose between a glossy, satin, or matte finish, depending on your personal preference and the look you want to achieve. Keep in mind that glossy finishes tend to show fingerprints and smudges more easily, while matte finishes can be more forgiving in terms of imperfections.
It is also important to consider the color of the paint. Choose a color that complements your kitchen decor and creates a cohesive look. If you are unsure about which color to choose, consider taking a sample of your kitchen cabinet or countertop material to the paint store and ask for assistance in finding a matching or complementary color.
Preparing Your Appliances for Painting: Cleaning and Sanding
| Refrigerator | Warm water and soap | Electric sander | 120 grit |
| Oven | Degreaser and scraper | Sandpaper by hand | 220 grit |
| Dishwasher | Vinegar and baking soda | Orbital sander | 180 grit |
| Microwave | All-purpose cleaner | Sandpaper by hand | 220 grit |
Properly preparing your appliances before painting is crucial for achieving a smooth and long-lasting finish. The first step in this process is cleaning your appliances thoroughly. Remove any dirt, grease, or grime using a mild detergent and warm water. Pay special attention to areas that come into contact with food, such as handles and knobs. Use a degreaser if necessary to remove stubborn grease buildup.
Once your appliances are clean, you will need to sand them to create a rough surface for the paint to adhere to. Use fine-grit sandpaper or a sanding block to lightly sand the surface of your appliances. This will help remove any existing finish or texture and create a smooth surface for the paint to adhere to. Be sure to wipe away any dust or debris with a clean cloth before moving on to the next step.
Step-by-Step Guide to DIY Appliance Painting: From Priming to Finishing
Now that your appliances are clean and sanded, it’s time to start painting. The first step in the painting process is priming your appliances. Priming helps the paint adhere better and provides a smooth base for the color coat. Use a high-quality primer that is specifically designed for use on appliances. Apply the primer evenly using a brush or roller, making sure to cover all surfaces.
Once the primer is dry, it’s time to apply the color coat. Use a brush or roller to apply the paint in thin, even coats, working in one direction. Allow each coat to dry completely before applying the next one. Depending on the color and finish you choose, you may need multiple coats to achieve full coverage. Be patient and take your time to ensure a professional-looking finish.
After applying the final coat of paint, allow it to dry completely before applying a clear protective topcoat. The topcoat will help protect the paint from scratches and stains and give it a durable finish. Apply the topcoat according to the manufacturer’s instructions, making sure to cover all surfaces evenly.
Adding a Pop of Color to Your Kitchen: Choosing the Perfect Hue for Your Appliances
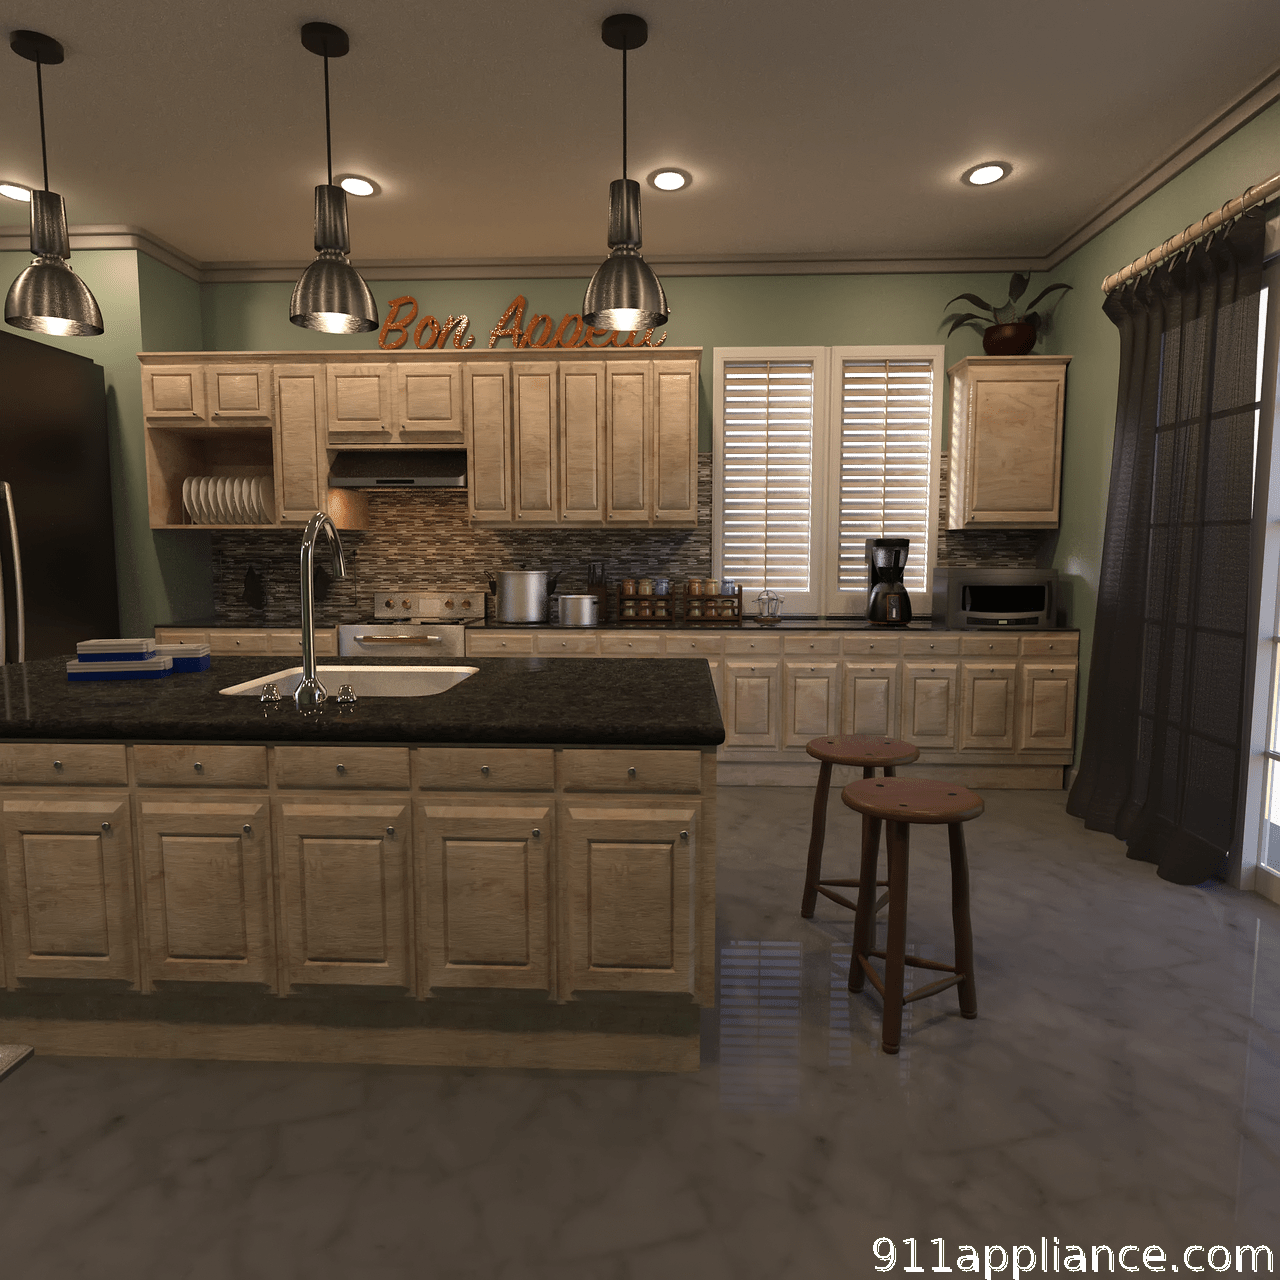
Choosing the right color for your appliances can have a significant impact on the overall look and feel of your kitchen. If you want to create a cohesive look, consider choosing a color that complements your kitchen decor. For example, if you have white cabinets and countertops, you could choose a bold color like navy blue or emerald green for your appliances to create a striking contrast. On the other hand, if you have a more neutral color scheme in your kitchen, you could opt for a softer color like pale pink or mint green to add a subtle pop of color.
When choosing a color, it’s also important to consider the size and layout of your kitchen. Dark colors can make a small kitchen feel even smaller, while light colors can make it feel more spacious. If you have a small kitchen, you may want to choose a lighter color for your appliances to create the illusion of more space.
If you’re feeling adventurous, you could also consider using multiple colors for your appliances. For example, you could paint your refrigerator and dishwasher in one color and your stove and microwave in another color. This can create a fun and playful look in your kitchen.
DIY Appliance Painting Ideas: Creative Designs and Patterns to Try
If you’re looking to get creative with your appliance painting, there are plenty of design and pattern ideas to try. One popular option is to create a two-tone look by painting the body of the appliance one color and the handles or knobs another color. This can create a modern and stylish look in your kitchen.
Another idea is to create a faux stainless steel finish using metallic paint. This can give your appliances a sleek and sophisticated look without the high price tag of actual stainless steel appliances. To achieve this look, start by painting your appliances with a base coat in a dark gray or black color. Once the base coat is dry, use a sponge or brush to apply metallic silver or stainless steel paint in a random pattern. This will create the appearance of brushed stainless steel.
If you’re feeling particularly artistic, you could also try creating a hand-painted design on your appliances. This could be anything from simple geometric shapes to intricate floral patterns. Use stencils or freehand painting techniques to create your desired design. Just make sure to use paint that is specifically designed for use on appliances and seal it with a clear protective topcoat to ensure durability.
Maintenance and Care for Your Newly Painted Appliances: Keeping Them Looking Fresh
Proper maintenance and care are essential for keeping your newly painted appliances looking fresh and new. Here are some tips to help you maintain the appearance of your painted appliances:
– Avoid using abrasive cleaners or scrub brushes on your painted appliances, as they can scratch the surface. Instead, use a soft cloth or sponge and a mild detergent to clean them.
– Wipe up spills and splatters as soon as possible to prevent staining. Avoid using harsh chemicals or abrasive cleaners, as they can damage the paint.
– Be careful when using sharp objects or utensils near your painted appliances, as they can scratch the surface. Use cutting boards and trivets to protect the paint.
– Avoid placing hot pots or pans directly on your painted appliances, as the heat can damage the paint. Use trivets or heat-resistant mats to protect the surface.
– Regularly inspect your painted appliances for any signs of wear or damage. Touch up any chips or scratches with matching paint to prevent further damage.
By following these simple maintenance tips, you can keep your newly painted appliances looking fresh and new for years to come.
DIY Appliance Painting vs. Professional Painting Services: Pros and Cons
When it comes to appliance painting, homeowners have the option to either do it themselves or hire professional painting services. Both options have their pros and cons, and the choice ultimately depends on your personal preferences and budget.
DIY appliance painting is a cost-effective option that allows you to save money by doing the work yourself. It also gives you complete control over the color and finish of your appliances, allowing you to customize them to your liking. DIY appliance painting can be a fun and rewarding project for those who enjoy hands-on work and have the time and patience to do it properly.
On the other hand, professional painting services offer convenience and expertise. Hiring professionals ensures that the job will be done quickly and efficiently, without the need for you to invest time and effort into the project. Professional painters have the knowledge and experience to achieve a flawless finish and can offer guidance and advice on color selection and design. However, professional painting services can be more expensive than DIY, especially if you have multiple appliances to paint.
When deciding between DIY appliance painting and professional painting services, consider your budget, time constraints, and level of expertise. If you have the necessary skills and are willing to put in the effort, DIY appliance painting can be a rewarding and cost-effective option. However, if you prefer to leave it to the professionals or don’t have the time or skills to do it yourself, hiring professional painting services may be the better choice.
Transform Your Kitchen with DIY Appliance Painting
In conclusion, DIY appliance painting is a cost-effective and customizable solution for homeowners looking to update their kitchen without breaking the bank. It allows you to give your appliances a fresh new look and create a cohesive look in your kitchen. By choosing the right paint, properly preparing your appliances, and following a step-by-step guide, you can achieve professional-looking results.
Whether you want to change the color of your appliances or add a pop of color to your kitchen, DIY appliance painting offers endless possibilities. From simple two-tone designs to intricate hand-painted patterns, you can get as creative as you like with your appliance painting.
Remember to properly maintain and care for your newly painted appliances to keep them looking fresh and new. Avoid using abrasive cleaners or scrub brushes, wipe up spills promptly, and protect the surface from heat and sharp objects.
Ultimately, whether you choose to tackle the project yourself or hire professional painting services, DIY appliance painting is a great way to transform your kitchen and give it a fresh new look. So why wait? Get started on your appliance painting project today and enjoy the benefits of a beautiful and personalized kitchen.
If you’re looking to give your appliances a fresh new look, DIY Appliance Painting is a great option. But before you dive into this project, it’s important to understand the process and gather some inspiration. Check out this related article on 911 Appliance’s blog, where they share tips and tricks for refreshing appearances with a splash of color. From choosing the right paint to prepping your appliances, this article covers everything you need to know. So why wait? Click here to read the full article and get started on transforming your appliances: https://911Appliance.com/our-blog/.
Can the Techniques for Tackling Cosmetic Damage on a Ride be Applied to DIY Appliance Painting?
Yes, the techniques for tackling cosmetic damage on a ride can certainly be applied to DIY appliance painting. A cosmetic damage expert solutions approach involves fixing dents, scratches, and chips, which is essentially the same as the process for prepping and painting an appliance to restore its original appearance.
FAQs
What is DIY Appliance Painting?
DIY Appliance Painting is the process of painting your appliances to give them a new look. It involves using paint and other materials to refresh the appearance of your appliances.
What are the benefits of DIY Appliance Painting?
DIY Appliance Painting can save you money by avoiding the cost of buying new appliances. It also allows you to customize the appearance of your appliances to match your personal style and home decor.
What types of appliances can be painted?
Most appliances can be painted, including refrigerators, dishwashers, stoves, and microwaves. However, it is important to check the manufacturer’s instructions to ensure that painting the appliance will not void the warranty.
What materials are needed for DIY Appliance Painting?
Materials needed for DIY Appliance Painting include paint, primer, sandpaper, painter’s tape, and a paint sprayer or brush. It is important to choose paint and primer that are specifically designed for use on appliances.
What is the process for DIY Appliance Painting?
The process for DIY Appliance Painting involves cleaning the appliance, sanding it to create a rough surface for the paint to adhere to, applying primer, and then applying paint. It is important to follow the manufacturer’s instructions for each step and to allow adequate drying time between coats.
Is DIY Appliance Painting safe?
DIY Appliance Painting can be safe if proper precautions are taken. It is important to use paint and primer that are specifically designed for use on appliances and to follow the manufacturer’s instructions. It is also important to wear protective gear, such as gloves and a mask, when working with paint and chemicals.